Kitesurfing gear for beginners: what you need and what can wait
You need 6 core items for safe kitesurfing. Rent them during your course and buy your own kite once you ride independently.
Level: Beginner
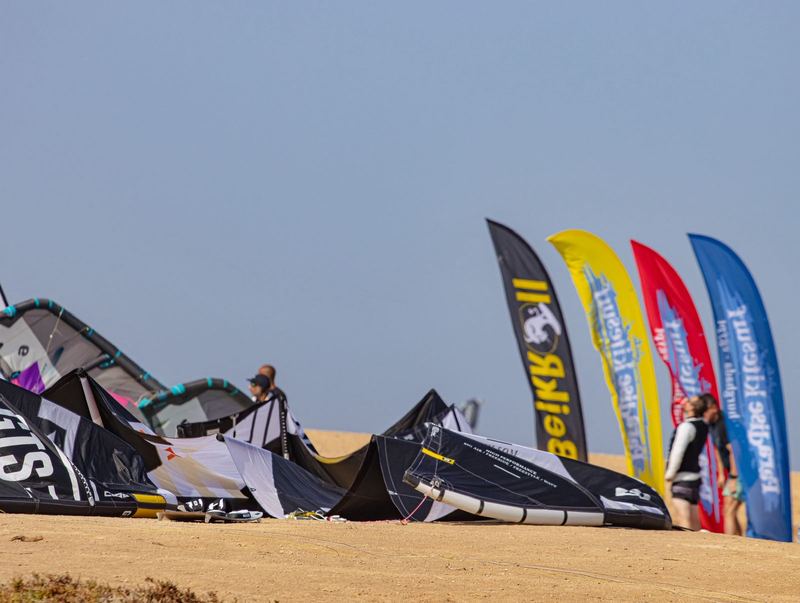
Kitesurfing gear for beginners comes down to 6 things: a kite, a bar with lines and a safety release, a harness, a board, a wetsuit or lycra, and a helmet with a vest. You do not have to buy them all after your course: rent most of it until you ride on your own, then buy your first kite.
Your first sessions without an instructor are calmer with gear made for beginners: a kite that flies steadily, loses power easily when you push the bar away (depower) and gets back in the air from the water (relaunch), a bar whose safety release you have tested, and a harness that stays in place.
The beginner kit at a glance
| Item | What it does | What a beginner should look for |
|---|---|---|
| Kite | Pulls you, produces power | Inflatable kite the maker labels for beginners or progression (steady improvement), size matched to your weight and local wind |
| Bar, lines, quick release, leash | Steering, power control, emergency release | Front-line flag-out (re-ride) system, where after the release the kite hangs on 1 line like a flag and loses its pull, or a 5th line system; a release that works smoothly |
| Harness | Takes the kite's pull off your arms | Seat harness for learning, waist harness later if you prefer |
| Board | What you ride on | Twintip (a symmetrical board that rides both ways) with foot straps, enough area for your weight |
| Wetsuit or lycra | Warmth or sun protection | Thickness matched to water temperature |
| Helmet and vest | Protection while you learn | Water sports helmet, impact vest or certified buoyancy vest |
Add a pump. To estimate the kite size for your weight and wind, use the kite size calculator.
The kite: what makes a good beginner kite
The best kites for beginners are the ones that stay calm. Kites come as inflatable leading edge kites (with an air-filled tube along the front edge), foil kites and C-kites. North recommends inflatable kites to beginners for their ease of use, versatility and safety features.
Duotone sums up a beginner-friendly kite in 4 traits: a stable position in the wind window (the area in front of you where the kite flies), easy depower, quick relaunch and durable materials. Duotone lists the Evo, Neo and Mono as its beginner kites. Ozone puts the Catalyst in its progression range and builds it with 1 strut (an inflatable tube across the canopy), relaunch by turning the bar, and extra Dacron (a tough woven fabric) reinforcement on the parts of the canopy that hit the ground most often while you are learning. Other brands make comparable models.
What to avoid as a first kite:
- C-kites. Today they are a niche for some experienced freestyle riders.
- Big air and advanced freestyle kites. Duotone suggests its more dynamic kites only once you ride upwind (at an angle into the wind, so you can return to your starting point) easily and feel safe in stronger wind.
Bar, quick release and leash
The bar is the most important safety part of your setup. You steer the kite with it and control its power. The quick release is the safety release on the bar: when you trigger it, the kite loses its pull and you are disconnected from it. The leash is a short line from your harness to the bar's safety line, so the kite stays attached to you after the release and does not fly away.
IKO, the International Kiteboarding Organization, approves safety systems that release most of the kite's power in any wind. 2 systems meet that: the front re-ride system, where the kite flags out on 1 front line, and the 5th line system, which IKO notes depowers less and can wrap around the kite. IKO also advises beginners not to use a stopper ball on the centre line between the chicken loop (the loop you hook into your harness) and the trim (the strap that sets the kite's basic power): without it, the kite depowers fully when you let go of the bar. A stopper ball on the safety line is a different part, which IKO recommends for landing the kite on your own and for self-rescue.
Quick releases and their leashes also have an international standard, ISO 21853:2020, in force since 14 February 2020: release force at most 170 N, opening within 2 seconds, tested also with sand and in cold water. Certified products can carry a Global Kitesports Association label.
3 habits that keep the bar working:
- Attach your leash to the flag-out point on the bar, exactly as the bar manual describes.
- Trigger and reload the quick release before every session.
- Rinse the bar with fresh water after the session and store it with the release open.
Harness: seat or waist
The harness is a wide belt or a seat with a hook at the front, and you hook the bar into it. A seat harness is the easier choice for learning. Beginners tend to fly the kite high above them, which pulls the harness upwards, and leg straps keep a seat harness in place all day.
A waist harness sits higher and gives more freedom of movement. Many beginners buy one as their first harness with the long term in mind; if you are unsure, try both during your course.
Board: a twintip with enough area
A twintip is the beginner board and is easy to control.
Look for a board with a flatter rocker (the curve from nose to tail), which starts gliding on top of the water sooner and goes upwind more easily, plus foot straps and fins that are not too small. As an example, Ozone recommends 137 x 41 cm for riders of 65-85 kg on its entry-level Element twintip, and longer 155 and 163 cm versions for heavier riders and light wind. For your own size, see the kiteboard size guide.
Wetsuit, lycra, helmet, vest and booties
Wetsuit. The 2 numbers describe thickness: a 4/3 has 4 mm panels on the body and 3 mm on the arms and lower legs. Gul rates a 3/2 for roughly 15-20 °C water.
Lycra. In warm water a lycra or rash guard protects you from sun and from scratches. In Egypt the water temperature changes over the year, so check the month in the guide to the best time to kitesurf in Egypt.
Helmet and vest. For your first sessions a helmet and an impact vest are part of the safety kit. An impact vest protects against impacts, while a certified buoyancy vest is tested for flotation. ION recommends buoyancy vests for beginners, among others.
Booties. On sand you can ride barefoot. On rocks, coral or shells, booties protect your feet when you walk in and out of the water.
What not to buy yet
These make sense later:
- A second or third kite. Start with 1 kite that fits your most common wind.
- A hydrofoil (a board with a wing on a mast under it that lifts it above the water). It works in lighter wind, but it needs more skill and experience than a twintip.
- A directional (surf) board or a wakestyle board (a stiff board for jumps and tricks). Both are built for experienced riders.
A small trainer kite is the exception. Ozone's Uno V2, for example, comes in 2.5, 4 and 6 m and flies with a standard bar. It is suitable for first sessions on land with an experienced kiter or instructor, where you learn kite control and the release with less power.
Rent or buy
Renting makes sense during your course and your first trips. You find out which kite size, board and harness suit you, and you do not drop your own new kite into the water while you learn. When owning becomes cheaper than renting depends on how often you get on the water.
Rentals usually ask about your level. Your IKO level is in your IKO profile online and in the IKO app, so keep it handy.
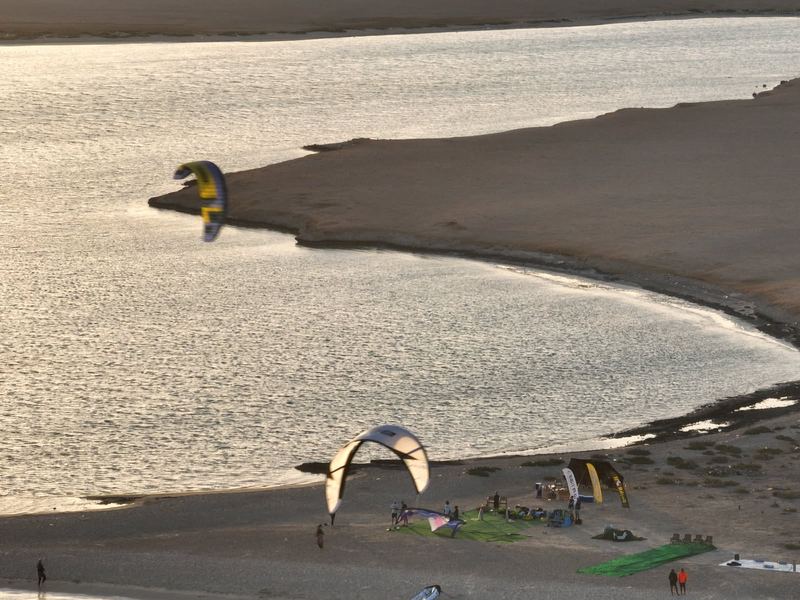
For a trip, renting is also the simplest choice. On the kite safari in Egypt a complete kite set costs €300 for 6 days, so you do not have to bring your own. If you can't ride on your own yet, start with a course on the coast. The safari gives the most to riders who already ride on their own after a course. There is also a 6-day beginner course on board (€600 with gear); Mohamed confirms how many instructors come along with your dates. According to guests, the safari spots mostly have offshore wind, which blows from the shore out to sea. If you cannot get back, the wind takes you away from land, which is why a rescue boat watches the water. For what to pack, see the kite safari packing list.
New or used: what to check
Used gear makes sense, because the first months are hard on equipment. A guide on the IKO blog recommends avoiding kites older than about 5 years and always looking at the kite in detail and feeling the canopy.
| Item | Check |
|---|---|
| Kite | Look for pinholes, patches and repairs; ask if the bladder (inner tube) was repaired; check the valve fits your pump and the connection points fit your bar |
| Bar and lines | Unwind all lines and check for fraying and knots; front-line flag-out or 5th line system only; trigger and reload the release |
| Board | No delamination (layers coming apart, visible as bubbles) or cracks in the deck; foot straps included; fins not too small |
A professional repair is fine. Be more cautious with home repairs and with a soft, flimsy canopy. Outside the guide, 2 more checks are worth doing: inflate the kite and leave it for a while to see if it holds air, and fly it before paying if you can.
New gear brings a current safety system and a warranty. If your budget is tight, spend more on the bar than on the board: it carries your safety system, and the author of the IKO blog guide considers bar and lines the most important piece of equipment.
When to buy your first kite
Buy your first kite when you can ride on your own: get up on the board in both directions, hold your ground upwind, and launch, land and relaunch the kite without help. IKO names this level 3, Independent Kiteboarder.
At that point you also know your local wind. 1 kite that covers your most common conditions, on a bar that fits it, is enough to start. A second kite comes when you notice which days you keep missing.
If you are still at the start, the guide on how to learn kitesurfing walks through the steps before your own gear matters.
Questions
What kitesurfing gear do I need as a beginner?
A kite with a bar, lines, quick release and leash, a harness, a twintip board, a pump, and a wetsuit or lycra depending on water temperature. For lessons and your first sessions, add a helmet and an impact vest.
Should a beginner buy a kite or rent one?
Rent during your course and your first trips, while you find out which size and which harness suit you. Buying starts to pay off once you kite regularly, and the right moment depends on how often you get on the water.
What is the best kite for beginners?
There is no single best model. Look for an inflatable kite that flies calmly, depowers easily and relaunches quickly, from a manufacturer that labels it as a beginner or progression kite, with a modern bar and a working quick release.
Is it safe to buy second-hand kitesurfing gear?
Yes, if you check it carefully. Inflate the kite, look for pinholes and repairs, unwind every line, and only accept a bar with a front-line flag-out or 5th line safety system that releases properly.
Can I rent kitesurfing gear on a kite safari in Egypt?
Yes. On the Paradise Kitesurf safari a complete kite set costs €300 for 6 days. If you can't ride on your own yet, start with a course on the coast; there is also a 6-day beginner course on board for €600 with gear.
Sources
- IKO approves safety systems that release most of the kite's power in any wind; the approved systems are the front re-ride system and the 5th line system. The 5th line system depowers less than the front re-ride system and the 5th line can wrap around the kite. IKO does not recommend that beginners use a stopper ball on the centre line between the chicken loop and the trim; a stopper ball on the safety line is recommended for self-landing, bar recovery and self-rescue. www.ikointl.com (checked 16 October 2026)
- ISO 21853:2020 for quick-release systems on kite bars and safety leashes is in force since 14 February 2020; release force at most 170 N, opening time at most 2 seconds; GKA label for certified products. global-kitesports.org (checked 16 October 2026)
- Beginner kites should have a stable position in the wind window, easy depower, quick relaunch and durable materials; Duotone lists Evo, Neo and Mono as beginner kites. www.duotonesports.com (checked 16 October 2026)
- Ozone Catalyst V5: 1-strut design, relaunch by turning the bar or using relaunch balls, Dacron reinforcements where the kite touches the ground in the learning phase, front line flag-out release; part of Ozone's progression range. ozonekites.com (checked 16 October 2026)
- Ozone control bar: leash attaches to the flag-out system; check and reload the release before every session; rinse with fresh water; store with the Click-In Loop open. ozonekites.com (checked 16 October 2026)
- Kite types are inflatable leading edge, foil and C-kites; beginners should stick to inflatable kites; seat harness is recommended for beginners; twintips suit beginners; directional and foil boards need more experience; helmet and impact vest are essential for first sessions; rash guard in warm water, neoprene boots in cold water; buying your own gear becomes more cost-effective than renting depending on how often you kite. northactionsports.com (checked 16 October 2026)
- Entry-level riders fly the kite higher; a seat harness stays in position and does not slide up. ozonekites.com (checked 16 October 2026)
- Ozone Element entry-level twintip: moderate-to-low rocker for early planing and upwind; 137 x 41 cm for riders 65-85 kg; 155 and 163 cm models for heavier riders and light wind. ozonekites.com (checked 16 October 2026)
- Ozone Uno V2 is an inflatable depower trainer kite in 2.5, 4 and 6 m sizes, used for first lessons on land with a competent adult kiter or instructor. ozonekites.com (checked 16 October 2026)
- Wetsuit thickness 4/3: 4 mm panels on the body, 3 mm on arms and lower legs; 3/2 for roughly 15-20 °C. blog.gul.com (checked 16 October 2026)
- ION separates upper body impact vests from certified buoyancy vests (EN ISO certified for flotation), which it recommends for beginners among others. www.ion-products.com (checked 16 October 2026)
- Used gear guide on the IKO blog: avoid kites older than about 5 years, always look at the kite in detail and feel the canopy, check for pinholes, repairs and repaired bladders, valve fits your pump, connection points fit your bar; boards without delamination or cracks, with large fins and straps; bars without frayed or knotted lines and with a 4-line re-ride or 5-line safety system; in the author's opinion bar and lines are the most important piece of equipment. www.ikointl.com (checked 16 October 2026)
- IKO level 3 Independent Kiteboarder: ride upwind, self-launch, self-land; an independent rider can ride on their own and rent equipment wherever they go. app.ikointl.com (checked 16 October 2026)
- Your IKO certification and level are in your IKO profile (Certification section) on the website and in the IKO app. d8.ikointl.com (checked 16 October 2026)
- Paradise Kitesurf safari optional services: complete kitesurf equipment €300 / 6 days, beginner course €600 (6-day intensive course including kite equipment); rescue boat; guest review (Jan Procházka): the spots are mostly with offshore winds. paradisekitesurf.cz (checked 16 October 2026)