Buying used kitesurfing gear: what to check
Used gear is a sensible way into your first kit, and your first kite will take the most crashes anyway. Take time to check the bar, its safety system and whether the kite holds air.
Used kitesurfing gear makes sense after lessons. You're still finding your riding style, and learning means crashes into water or sand. Paying full price for new gear makes most sense when you know what you want.
What used gear does need is a proper check before you pay. Sellers know their kites and usually look after them, but even an honest seller can miss a pinhole in a bladder or a worn line. I'd spend most of my time on the bar and on whether the kite holds air. Boards and harnesses are the toughest parts of the kit and the easiest to buy second hand.
What's worth buying used, and where to look closely
| Item | Buy used? | What to check |
|---|---|---|
| Kite | yes, after checking its condition and air retention | leading edge, bladders, hoses and valves, canopy against the light, trailing edge, bridle, attachment points and any pulleys |
| Bar and lines | only with a working safety system and kite compatibility | quick release, free safety-line travel, leash and its release, lines and pigtails |
| Twintip | yes, superficial scratches don't matter | rails, fin inserts, even bending, screws |
| Harness | yes, if it fits, is undamaged and suitable for kiting | size, straps and stitching, buckles, hook, closures and leash attachment |
The bar and its quick release: don't cut corners here
The quick release activates the kite's emergency release system. With a push-away release, push the handle away from your body; follow your model's manual and practise with an instructor. Letting go of the bar reduces power but doesn't activate the release. A compatible, correctly connected system lets the kite lose most of its power after release, though some pull can remain. I'd spend most time checking the bar.
Since 14 February 2020, ISO 21853 has required quick releases to open with 170 N or less and within 2 seconds under specified test conditions. I'd look for certification, but it doesn't confirm a used bar's condition or compatibility. Whatever its age, look up the release operation and test it.
What to do when you meet the seller, without a kite in flight:
- Quick release: activate and reset it repeatedly according to the manual. It must open smoothly and lock securely. If it sticks, have it cleaned and rechecked before buying.
- Safety line and leash: check the bar travels freely along the safety line for the distance prescribed in the manual. The leash keeps you connected after release; check its attachment and test its own release. If unsure, ask an instructor or repair shop for help.
- Lines: unwind them completely and run your fingers along each one. A knot, a cut or a frayed spot means that line gets replaced. You don't ride on a damaged line.
- Pigtails, the short lines at the ends that connect the bar to the kite, wear out first. You can buy and replace them separately, and their condition tells you how much the bar has been used.
- Depower and trim (the line and strap you use to take power out of the kite and adjust it) usually show the most wear on a bar.
Check the control bar and lines against both manufacturers' instructions for the exact models and years. Match line count, lengths, connections and V position, the height where front lines split towards the kite. Check the prescribed release system and free safety-line travel too. Matching brands isn't enough. If uncertain, get compatibility confirmed by the manufacturer or specialist repair shop before buying.
The kite: pump it up and give it time
The kite almost always turns up packed in its bag, and the seller tells you it holds air. That's exactly the sentence you want to check for yourself. Find a patch of grass and pump it up.
Leak test. Inflate to the manufacturer's specified pressure for that model and close the hose clips between leading edge and struts. Leave for 2-3 hours in shade, sheltered from wind, at a roughly steady temperature and secured against blowing away as the manual describes. Check each inflatable section for firmness. Softening indicates a leak in that section, its valve or hose. Ask the seller to inflate it under these conditions before you arrive.
The leading edge is the inflatable tube along the front of the kite, and it holds the whole shape. Go along its full length, paying most attention to the wingtips, which take the hits when the kite lands on the beach. Worn fabric with the bladder showing through is a reason for me to walk away, unless the price already allows for a professional repair. You can't reliably fix a leading edge at home.
The canopy. Inspect against the light from different angles for holes, cuts and patches, including underneath where it rubs on sand and shells. A small hole away from stressed areas may be taped on clean, dry fabric following the manufacturer's instructions. Have a shop assess longer tears or damage near seams, struts and the leading edge. Depending on location and extent, repairs may use tape and stitching or replacement fabric.
The inflatable kite's bridle consists of short lines connecting the kite to your bar's lines. Inspect their full length, attachments and ends for abrasion, cuts and unwanted knots. Check any pulleys for damage and free movement. Replace damaged parts to the manufacturer's specification before riding.
The trailing edge (the back edge of the canopy) wears from flapping in the wind. If the fabric there looks visibly tired, the kite still flies, but it has a lot of hours behind it and the price should reflect that.
Hoses, valves and bladders. Check connecting hoses for damage and stickiness, then valves and their bonds to the bladders. These can loosen over time, particularly after hot storage. Ask where the kite was stored and test air retention. Get any faults priced by a repair shop before buying.
A soft canopy. A canopy that feels as soft as a bedsheet has usually been worn down by sun, salt and flapping. A lack of crispness alone proves nothing, though: some newer fabrics aren't crispy even when new. Compare with the same brand, ideally a friend's kite.
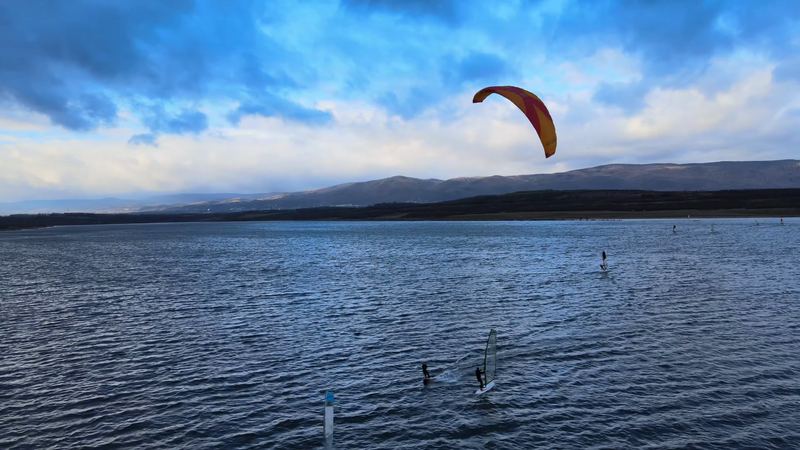
On snow I fly Kitech foil kites. They have no bladders; I'd spend longest checking the bridle for damage and symmetry between corresponding left and right lines. Lengths must match the bridle plan for that model and size, not each other. If unsure, have a shop check it and quote for any kite repair before buying.
Size and age: a cheap kite isn't a bargain by default
The biggest trap with used gear is buying the wrong size because it was cheap. If you don't ride it, the money you saved is gone. Before you start looking, work out the size you need with the kite size calculator or the guide what size kite do I need.
I'd be careful with suspiciously cheap packages of kite, bar, board and harness. Someone may have stopped kiting years ago, when that gear was current. Safety systems and kite behaviour have evolved. Check models, years and the complete setup's operation, including emergency release. You need gear you understand.
Twintip: check the rails and how it bends
A twintip is the symmetrical board you ride in both directions, and it's most likely what you learned on. It's the toughest part of your kit. Minor surface scratches usually aren't a problem, but damage reaching into the structure needs assessing.
What to check:
- Rails all the way round. The edge is usually plastic so it can take knocks. If you can see the board's core underneath, water can get in.
- Fin inserts and the area around them. A fin that got bent or snapped off may have damaged the insert.
- Flex, or how the board bends: bend it gently. It should bend evenly. A noticeably soft spot under the feet or uneven bending can mean the layers are separating inside.
- Screws for the pads and straps: loosen them and tighten them again. If they are seized in the inserts, you'll never be able to move the pads.
Watch the board type. A cheap wakestyle twintip built for tricks is hard work for a beginner. Look for a board for everyday riding that holds an edge easily and helps you ride upwind, meaning back towards where you started against the wind. For the size, see my kiteboard size guide.
Harness: fit comes first
The harness transfers the kite's pull from your arms to your body through a waist or seat belt. I'd buy used if it fits, is undamaged and has a kite connection compatible with your bar. Inspect straps and stitching for tears and fraying, and rigid parts including the hook for damage. Test closures and buckles, and check leash attachment against the manual. If unsure, have a shop assess it.
Try it on and pull on the hook before buying. Size and shape affect comfort; checking condition and operation matters separately.
How to pay without getting scammed
The advice for online marketplaces from the Czech police is to avoid sending money in advance and meet in person. With kite gear you have to meet anyway, because you need to pump up the kite and test the bar. Before you meet, check how long the seller has been registered on the site and what their reviews say.
Bring someone who has been kiting longer than you. Your instructor from the course is a good choice. Another person may spot different things, and it's easier to say no with someone next to you. When deciding where to buy kite gear, I'd choose a seller who lets me inspect and test it properly before paying.
If you'd rather wait before buying
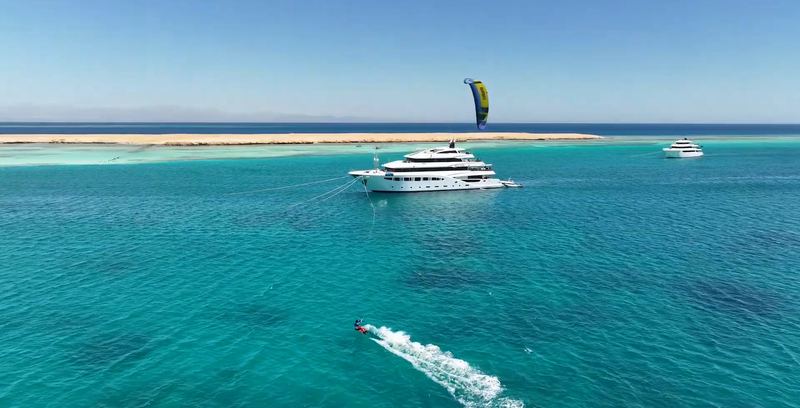
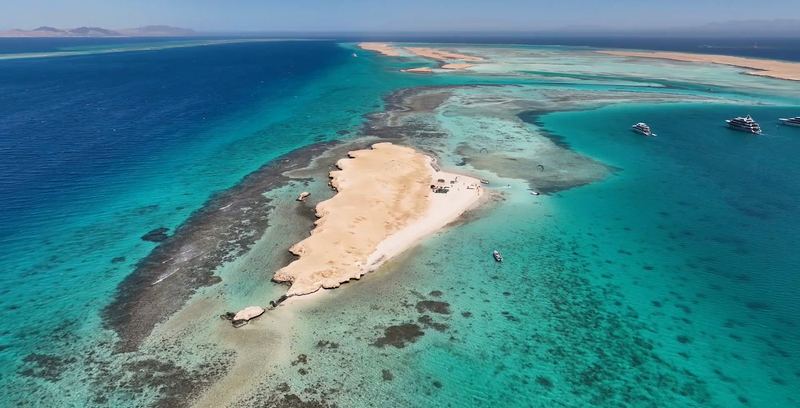
You don't have to buy your first kit right after your course. You can keep riding rented gear and find out what suits you. On the kite safari in Egypt that I go on, full kite gear rental costs 300 EUR for 6 days and a twintip on its own 60 EUR for 6 days (2026 prices). The beginner course at 600 EUR includes gear.
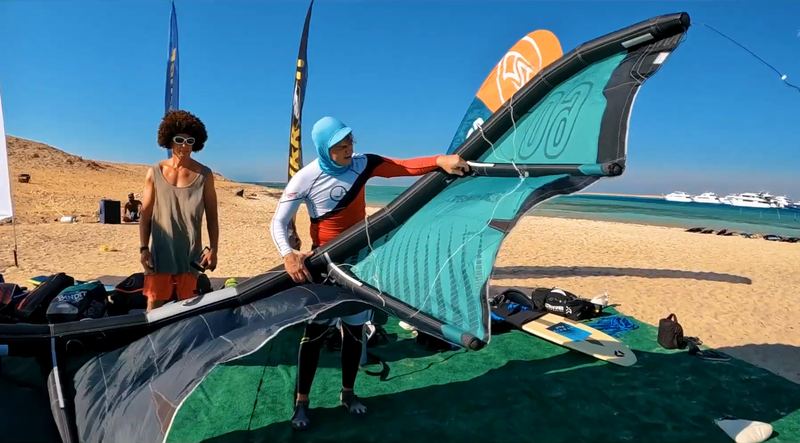
When choosing kitesurfing equipment, I'd start with what suited me during lessons. Check each used item as described above, with an instructor's help if needed.
Questions
Is it worth buying a used kite as a beginner?
Yes, if it passes a proper check. Your first kite will crash into water and sand more than any kite after it, and you are still finding out what kind of riding you like. Check the leading edge, the bladders and the bar's quick release most carefully.
How do I know if a used kite has a leak?
Inflate it to the pressure specified by the manufacturer for that model and close the clips on the connecting hoses. Leave it for 2-3 hours in the shade, sheltered from wind and at a roughly steady temperature, secured against blowing away as the manual describes. Then check each inflatable section for firmness; softening points to a leak in that section, its valve or hose.
How old can a used kite bar be?
Age alone isn't enough: check the condition, the releases and compatibility between that particular bar and kite. Since 14 February 2020, ISO 21853 has required quick releases to open with a force of 170 N or less and within 2 seconds under specified test conditions. An ISO label doesn't replace an inspection of a used bar or checking the complete setup against the manuals.
Can I use a bar from a different brand than my kite?
Only if both manufacturers' instructions confirm compatibility for the specific models and years. The line count, lengths, connections, front-line split height and prescribed safety system must match, with unobstructed travel along the safety line. Matching brands alone isn't enough; before buying, check the release system and the leash release according to the manuals, without a kite in flight.
How do I pay safely for used kite gear?
Meet in person and don't send money in advance. With kite gear you need to meet anyway, because you have to pump up the kite and test the bar before you pay.
Sources
- ISO 21853:2020 for quick-release systems on kite bars and safety leashes in force since 14 February 2020; release force 170 N or less, opening time 2 seconds or less; certified products carry an ISO label global-kitesports.org (checked 18 October 2026)
- Leak test: close clips between leading edge and struts, wait 2-3 hours and check each section for firmness; leaks may also occur at a valve or connecting hose; follow the manufacturer for pressure and securing the kite www.mackiteboarding.com (checked 18 October 2026)
- Bar and kite compatibility includes line connectors, front-line split height (V) and line length; the safety configuration must also be checked against manufacturers' instructions rideevolve.eu (checked 18 October 2026)
- Safety systems on different generations of bars and kites are not always compatible www.mackiteboarding.com (checked 18 October 2026)
- Used gear inspection: lines and pigtails, release and safety line, leading edge, canopy, inflatable kite bridle and any pulleys (12:29), deteriorating sticky connecting hoses and valve bonds loosening after hot storage (14:21); crispness is unreliable with newer fabrics; boards: rails, fin inserts, uneven bending indicating delamination (21:17), screws and suitability for beginners www.youtube.com (checked 18 October 2026)
- Risks of used gear: worn pigtails indicate use, a soft canopy can be worn by UV, salt and flapping, check depower and trim lines, inspect boards and harnesses for damage, learners crash their kites frequently; seek experienced help if unfamiliar with gear inspection www.youtube.com (checked 18 October 2026)
- Czech police advice for online marketplaces: check how long the seller has been registered and their reviews, don't pay in advance, meeting in person is the safest option archiv.policie.gov.cz (checked 18 October 2026)
- Safari price list 2026: full kite gear rental 300 EUR / 6 days, twintip 60 EUR / 6 days, beginner course 600 EUR (6-day intensive course including gear) paradisekitesurf.cz (checked 18 October 2026)
- Foil kite bridle inspection: symmetry of corresponding left and right branches and lengths according to the model's specifications and bridle plan ozonekites.com (checked 18 October 2026)
- FLYSURFER Bar Safety Guide, sections 03, 04.02, 07 and 10: push-away handle moves away from the body, bar slides along the safety line with minimal residual pull; practise releases with an instructor, inspect wear, leash attachment and harness connection compatibility flysurfer.com (checked 18 October 2026)
- CONNECT3 requires the safety configuration appropriate to the kite: HYBRID only with 4-line FLS, PEAK can use 5-line B-Safe; matching brands or release certification alone cannot establish a correctly configured setup flysurfer.com (checked 18 October 2026)
- Ozone Reflex: observe valve pressure instructions, do not overinflate, secure an inflated kite and avoid long exposure to sun and wind; for testing I therefore choose shade, shelter and a roughly steady temperature; letting go of the bar does not activate release, follow the manual for leash attachment and unobstructed safety-system operation ozonekites.com (checked 18 October 2026)
- Inflatable kite bridles: inspect for damage and check lengths against the manufacturer's plan; replace worn or out-of-spec lines ozonekites.com (checked 18 October 2026)
- Canopy repairs: small damage can be taped on clean, dry fabric; high tension near struts and leading edge requires professional repair; larger repairs can use tape and stitching or panel replacement; inspect against the light from different angles www.fixmykite.com (checked 18 October 2026)
- Harnesses: choose the connection for the sport, check webbing, closures, leash attachment and wear on the harness and spreader bar; correct sizing and fit www.mysticboarding.com (checked 18 October 2026)
- Damaged gear needs repair; have a shop inspect and repair equipment if its dependability is in doubt www.mysticboarding.com (checked 18 October 2026)