Going upwind kitesurfing: stance, edge and speed
Riding upwind comes down to 3 things that have to happen at once: hang back on your lines, put the board on its edge and keep a medium speed. Wait until the board is planing before you start edging.
Going upwind kitesurfing starts with getting the board planing. If you edge straight after the waterstart and the board sinks, let it build speed slightly downwind first. Then gradually lean your shoulders back into the harness and load the heelside edge. If you start losing speed, bear away a little downwind and get going again.
You don't need talent for this. Riding upwind comes down to 3 things that have to work at the same time: hang back on your lines, put the board on its edge and hold a medium speed. Nobody can honestly tell you how many sessions it will take; that depends on the wind, your gear and how often you get out.
What bothers me is when a course ends the moment someone gets up and rides for the first time. Riding independently also means safe launching and landing, knowing your safety system and getting back to shore when things go wrong. Those skills belong alongside upwind when you learn to kitesurf.
What riding upwind actually means
Nobody rides straight into the wind. You ride at an angle, and to get to the spot the wind is coming from, you zigzag with a turn at each end. The kite pulls you downwind and sideways, the edge of the board bites into the water and resists that pull, and the 2 forces together send you across and slightly up.
So you gain ground with your stance, and your hands on the bar only fine-tune it. Your weight hangs on the harness, the belt around your waist or hips that the kite pulls you by.
Before you start: what you need and where to practise
- Waterstarts on both sides. A waterstart is getting up from the water with the kite pulling you onto the board. You should be able to get going and stop under control in both directions, every time. If the start still takes all your concentration, there's none left for edging.
- Sideshore or side-onshore wind. Sideshore blows along the beach, side-onshore blows at an angle towards it. Both suit learning best, because if something goes wrong the wind carries you along the shore or back to it. Onshore blows straight at the beach and makes getting out hard. Offshore blows from the land out to sea, and you don't ride in it.
- Enough power. On a small kite in light wind the board sinks and you never get going. A bigger, flatter twintip (the two-ended board almost everyone learns on) helps in lighter wind, but it won't fix your stance. More on that in my kiteboard size guide.
- Space downwind. Expect your first attempts to end lower than where you started. Pick a spot with open beach or walkable shallows downwind, and no rocks, piers or boats.
The 3 things upwind riding depends on
Hang back on your lines with your shoulders
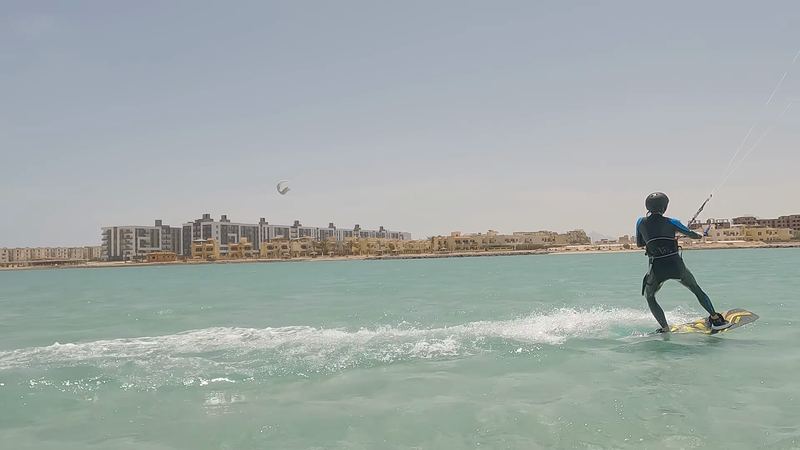
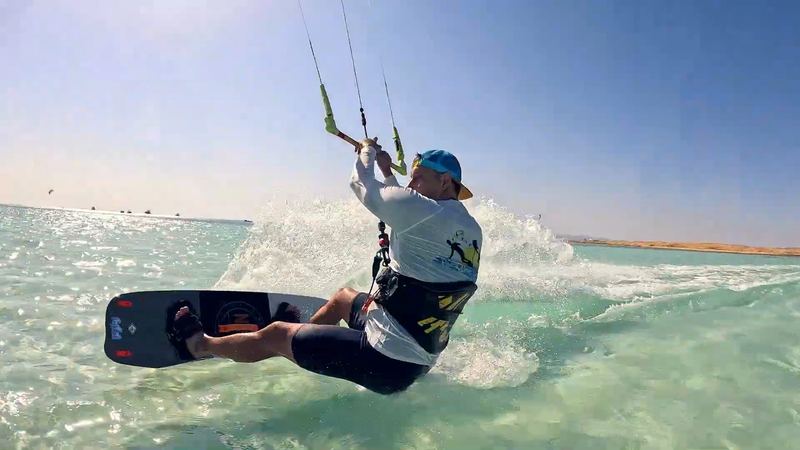
This is the most important part and the hardest. A snowboarder stands over the board; on a kite you hang on your lines and the kite holds you up. Shoulders back, hips forward, front leg almost straight, back leg slightly bent. Keep your body firm, as if you were leaning back against a tight rope.
Lean with your shoulders, not your waist. If you bend at the waist and stick your bum out, the harness rides up towards your armpits and the pull goes into your back instead of into the board. Instructors have a name for this, the poo stance, and they see it in beginners all the time.
Put the board on its edge
When you lean back, your weight goes onto your heels and the heelside edge of the board digs into the water. The board starts to carve upwind. Leaning and edging always come together: the moment you stop leaning, you stop edging too.
Put slightly more weight on your back foot so the nose doesn't catch, but don't overdo it. Stand right over the tail and it sinks, drags and the board turns only on its fins, so you skid sideways downwind instead of carving.
Hold a medium speed
Ride too slowly and the board sinks and stops. Ride too fast and the board skips across the surface, the edge won't hold, and the kite drags you further downwind. The right speed is the one where the board is planing and roughly half of it is cutting into the water.
You fine-tune speed with the bar, in small movements, constantly:
- a little too fast: ease the bar out
- a little too slow: pull the bar in
- far too slow and sinking: work the kite up and down, or point the board downwind for a moment, get going again and head back up
Experienced riders look effortless, but watch closely and they adjust the bar almost all the time. Beginners react late: by the time they've worked the kite for power, the board is already under water.
Park the kite at 45 degrees
To start with, keep the kite at around 45 degrees, halfway between the water and the top of the window. On a clock face that's 10:30 when you ride left and 1:30 when you ride right. Near 12 the kite loses its sideways pull and you lose speed. Down low it pulls you forward harder, but it's harder to control. Save the lower kite position for when you ride with confidence.
Step by step
- Waterstart. Your shoulders are still forward, your front leg is straight and the nose of the board points slightly downwind.
- Ride slightly downwind for a few metres until the board starts planing. Without speed, upwind never starts.
- Drop your shoulders back into the harness smoothly. The board loads up on its heelside edge and carves upwind in an arc.
- Keep the kite at 45 degrees and manage your speed with the bar.
- If you start losing speed, bear away downwind for a moment, get going, then head back up.
- End the run by leaning further into the harness and edging more. The board turns further upwind and slows to a stop.
Get your stance checked
On the water you may feel like you're hanging way back while you're actually almost upright. Ask an instructor to check your stance and agree on where and how to practise with them. Don't practise hanging on your lines on the beach with the kite at 12 on your own. A gust can lift you, and a kite that stalls can fall into the power zone and pull again.
Practise using the quick release on your own equipment with an instructor, too. This safety release opens the main harness connection and, with the safety system correctly connected, greatly reduces the kite's pull. You remain attached through the safety leash, the line connecting you to the kite's safety system. The quick release does not guarantee that all pull disappears.
The most common mistakes
- Edging straight after the waterstart. The board never planes and you stop. Speed first, then a smooth carve.
- Leaning with your waist. Pull the harness back down and lean with your shoulders.
- Too much weight on the back foot. The tail sinks and acts like a brake.
- Kite up near 12. It loses sideways pull, and you lose speed.
- Staring at the kite. Look where you're going and just glance at the kite. Turning your head won't help on its own if you're still upright.
- Reacting late. Once the board is sinking, it's too late. Correct earlier, with smaller movements.
How to tell you are gaining ground
Pick a fixed point on the shore, like a flag, a tree or a parked car, and check it every few runs. If you keep coming back level with it or higher, you're getting there.
If you have a stronger side, use it for longer runs and gaining ground. On your weaker side, do shorter runs and focus on not losing ground. You can brake by turning further upwind, but a crash or a new waterstart can leave you further downwind. A smooth transition without stopping is the next step.
On a day when it won't happen, ride back to shore downwind and walk. If you lose your board, body drag back to it, letting the kite pull you through the water without the board, which also works at an angle upwind. Before your first solo sessions after a course, make sure you've practised self-rescue with an instructor, too: getting yourself and the kite back to shore when it's down and won't relaunch.
Where upwind is easiest to learn
It comes fastest on flat, shallow water with wind along the shore. Chop, the short messy little waves, keeps knocking your edge out of the water. In the shallows you stand up after a fall, walk to your board and go again instead of a long body drag.
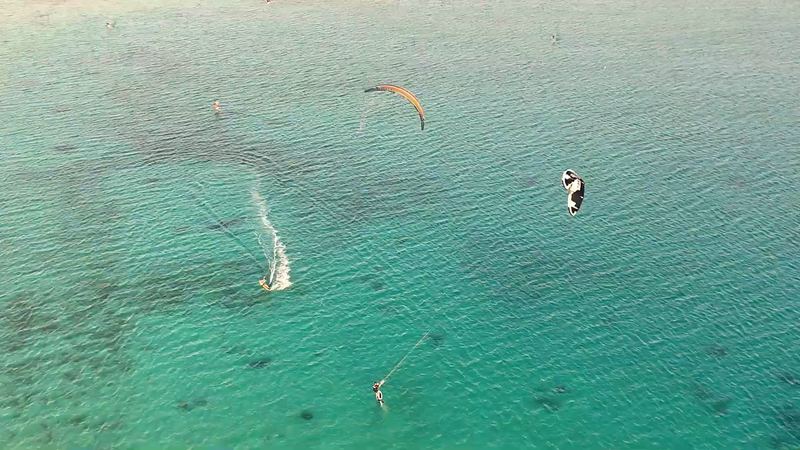
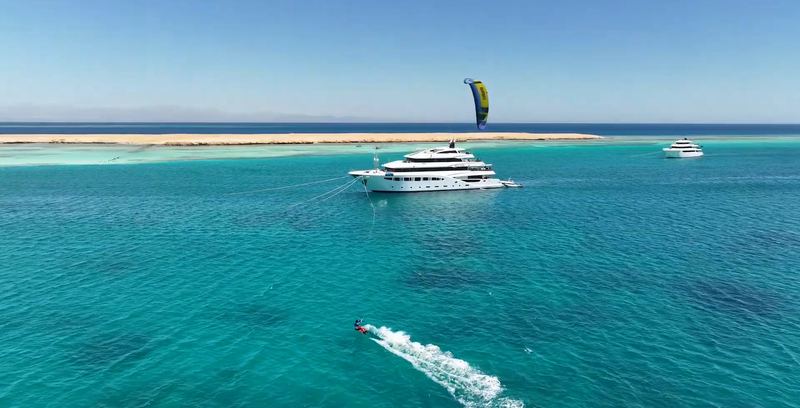
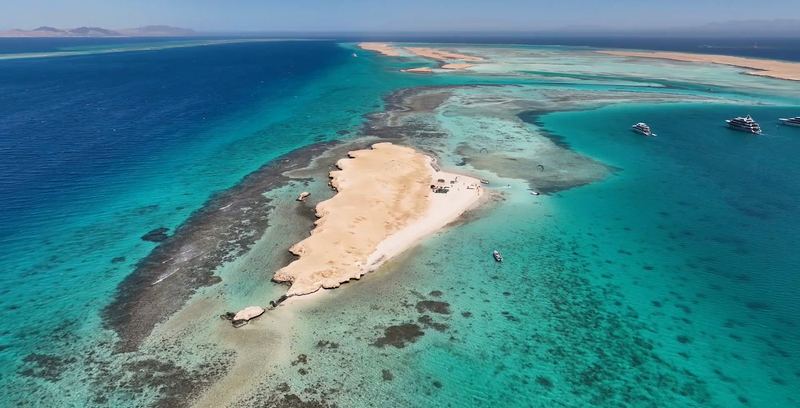
You'll also find shallow, calm lagoons on a Red Sea kite safari, where the programme includes video coaching, an analysis of your recorded runs. Use the footage to check how far you lean into the harness while riding. To practise upwind, you already need solid waterstarts on both sides; how much you progress in a week depends on the wind and what you arrive with.
Questions
Why can't I go upwind when kitesurfing?
Usually it's stance and speed. You stand over the board instead of hanging back on the lines with your shoulders, you dig in the edge straight after the waterstart before you have any speed, or you ride so slowly the board sinks. Flying the kite too high and being underpowered for your gear also play a part.
Where should the kite be when riding upwind?
For beginners, roughly 45 degrees above the water: 10:30 when riding left and 1:30 when riding right. Up near 12 the kite loses its sideways pull and you lose speed; lower down it is harder to control.
How long does it take to learn to ride upwind?
Nobody can honestly promise a number. It depends on the wind, your gear, how solid your waterstart is and how often you get on the water. It goes faster on flat, shallow water with sideshore wind and with someone filming you.
Does a bigger board help you go upwind?
A bigger, flatter board helps in lighter wind because it gets planing with less pull from the kite. It won't fix your stance, though. If you stand upright over the board, no board will take you upwind.
Sources
- Upwind riding rests on 3 principles: lean back on the lines, set the course with the board's edge, stay in a suitable speed range; on the water riders feel they lean a lot while staying almost vertical; more speed moves the kite towards the centre of the window and pulls you downwind; a run can end by increasing the lean and edging www.youtube.com (checked 17 October 2026)
- Before upwind: clean waterstarts and controlled stops on both sides; after the start aim slightly downwind until planing, then carve upwind smoothly; kite at about 45 degrees (10:30 left, 1:30 right), higher loses horizontal pull, lower is harder to control; too slow and the board sinks, too fast and it skips; manage speed with the bar and course, turning further upwind slows the board; the poo stance (leaning with the waist, harness rides up); slightly more weight on the back foot, but not too much www.youtube.com (checked 17 October 2026)
- At the right medium speed about half the board cuts into the water; the kite's pull and the resistance of the board's edge allow upwind riding www.youtube.com (checked 17 October 2026)
- Look where you are going rather than at the kite; more weight on the back foot; a larger, flatter board helps, but technique matters more www.thekitesurfcentre.com (checked 17 October 2026)
- Never kitesurf in offshore wind; side-onshore and sideshore winds are the best for new riders www.mackiteboarding.com (checked 17 October 2026)
- Kite safari: shallow, calm lagoons and video coaching, analysis of recorded runs paradisekitesurf.cz (checked 17 October 2026)
- A kite at 12 on land can lift a rider in gusts or regain power in the power zone after stalling www.ikointl.com (checked 17 October 2026)
- After quick-release activation a correctly connected safety system greatly reduces pull; the rider stays connected to the kite through the leash www.duotonesports.com (checked 17 October 2026)
- The quick release opens the main harness connection; flag-out requires a correctly attached leash and unobstructed safety system; instruction and practice of releases, launching, landing and self-rescue ozonekites.com (checked 17 October 2026)
- Safety systems, launching and landing, upwind body drag, self-rescue, controlled stops and riding upwind are separate skills in the teaching syllabus www.ikointl.com (checked 17 October 2026)