How to waterstart kiteboarding: get up on the board
A waterstart means coordinating the kite, your body and the board in a few moments. Break the move into parts, practise each part and add kite power gradually.
A waterstart is the moment the kite pulls you out of the water onto the board and you ride away. It is your first real ride in kiteboarding and one of the hardest steps of the whole learning process. If you want to know how to waterstart in kiteboarding, the hard part is coordinating the movements: diving the kite, moving forward over the board, steering the kite back up, straightening your front leg and shifting weight onto your back foot.
You almost certainly won't get it on the first try, and that's normal. I know the feeling from jumping: I have to do lots of things at once, and the moment I focus on one, I forget another. So for the waterstart I'd break the move into parts, practise each one on its own and only put them together once they no longer need thinking about.
The whole learning path, from your first kite to riding on your own, is in my guide on how to learn kitesurfing.
What to master before you try a waterstart
In the syllabus of IKO, the international kiteboarding organisation that certifies instructors and schools, waterstarts and controlled stops come in stage 2I, the last stage of level 2. Before it you should be able to:
- use the kite's safety system, including the quick release that releases the pull in an emergency,
- walk into and out of the water with the kite under control,
- relaunch a kite that has dropped onto the water,
- body drag in both directions, which means letting the kite pull you through the water without a board,
- body drag upwind, against the wind, and use that to get back to your board,
- handle the basics of self rescue: what to do when the kite is down and won't relaunch, and how to get back to shore with it.
Learn your first waterstarts with an instructor. After your course, practise these movements independently only once you can also use the safety system, self rescue and stop under control. If you are unsure, go back to an instructor.
Take the upwind body drag seriously. You will fall again and again while learning to waterstart, and every time the board drifts off a bit. If you can get back to it with the kite, you don't have to swim and you save your energy for the next attempt. I go through it in body dragging: how to get back to your board.
Where and in what conditions to practise
The waterstart is easiest to learn on flat water, roughly waist to chest deep. After a fall you stand up and grab the board. Not too shallow though: falling onto a hard bottom in knee-deep water hurts.
Waves and chop, the short choppy ripples the wind kicks up, slow everything down. The board bounces around and it is harder to hold a line.
What really matters:
- Nobody and nothing downwind. Downwind is where the wind blows and where the kite will drag you. No swimmers, kiters, jetties or rocks.
- Wind direction to the shore. Side-onshore wind, blowing diagonally from the water towards the shore, is the best choice for learning. Onshore wind blows straight at the beach and pushes you onto it. Offshore wind blows from the beach out to sea and carries you away. Avoid it when practising independently.
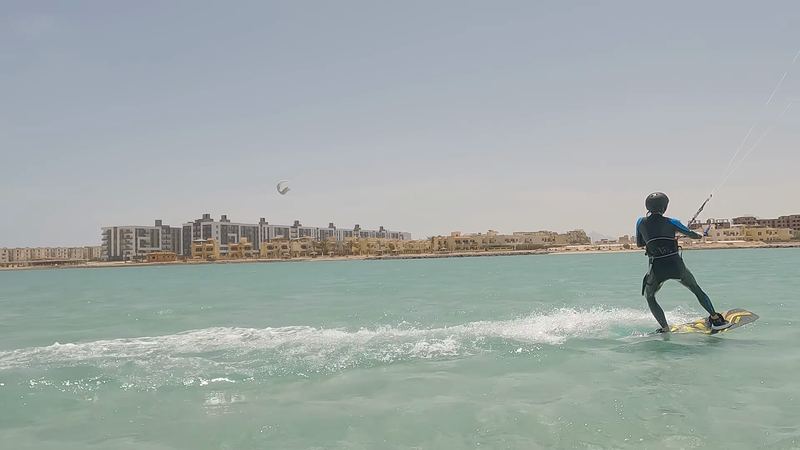
- Wind without strong gusts. When it blows over trees, buildings or a dune, turbulence forms behind the obstacle and the kite can pull unevenly. Choose a spot outside the wind shadow of obstacles, where the wind is clean.
3 drills with the board on your feet
Before you try to stand up for the first time, do 3 drills in the water. Beginners learn on a twintip, a symmetrical board that rides in both directions.
One more term: picture the wind window as a clock face. At 12 the kite is straight above you, at 9 and 3 it is down near the water on your left and right. It pulls hardest as it passes through the middle of the window in front of you, the power zone.
- Board in 1 hand, bar in the other. Fly the kite with 1 hand and hold the board with the other. Then swap hands. The bar is the control bar the kite lines are attached to.
- Put the board on. Sit down in the water with your legs in front of you. Keep the kite at 10 or 2 as you sit down to reduce the risk of it falling out of the sky. Hold the board by the strap or handle with 1 hand and keep the other on the bar. Put in the foot opposite to the hand holding the board first, then the other. Wiggle your feet to check they sit properly, then kick the board off and repeat.
- Steer the board with your legs. With the board on your feet, let yourself drift slowly downwind and keep the board perpendicular to the kite. Straighten your right leg and you turn left, straighten your left leg and you turn right.
If you get spun the wrong way, don't take a hand off the bar to swim yourself round, it usually ends badly. Let go, reset and start over.
How to waterstart, step by step
- Starting position. You now have the board on your feet. To prepare for the start, move the kite to 12, keep the board perpendicular to its pull and bring your knees towards your chest. Your weight stays close to the board.
- Dive the kite. Steer it towards the direction you want to go. Smoothly, not with a jerk: the slower you steer, the less power the kite picks up.
- Let it pull you forward. As the kite pulls, move your head and shoulders forward over the board. Don't push up with your legs, the kite lifts you.
- Straighten your front leg. Once you are out of the water, extend your front leg and point the nose of the board downwind towards the kite. Your back leg stays bent and carries more of your weight.
- Steer the kite back up. At about 45° steer it back up, or it will crash into the water. Ease the bar out a little as you do.
- Work the kite until you have speed. When you slow down, dive the kite again and bring it back up. Bar in on the way down, bar slightly out on the way up.
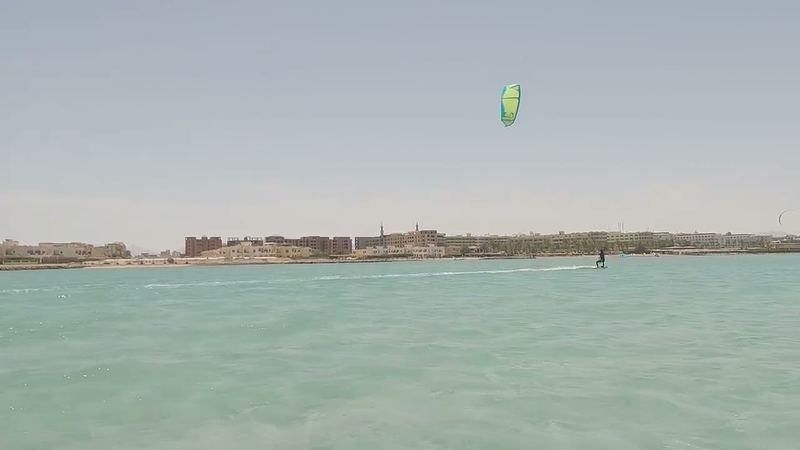
- Ride. Once you have speed, park the kite around 45° and ride. To stop, send the kite to 12, push the bar away and lean back.
How to control the kite's power
Finding the right amount of power is the hardest part of the waterstart. Too much and you get launched over the board head first, a superman in kiter slang. Too little and you never get out of the water.
- Start with a smooth, slower movement. This keeps the kite from diving as deeply into the power zone. Faster steering can send it deeper and generate more pull. Build up gradually; a weak attempt can always be repeated.
- If the kite won't lift you, you are probably not steering enough or fast enough, and the kite stays at the edge of the window where it has less pull, which may not be enough to get you going. Send it more through the middle.
- Next step: start with the kite at 11 or 1, on the opposite side of the window to where you want to go. The kite then travels through the whole power zone and gives you more pull.
- Slamming the kite down hard ends in nasty crashes and broken kites. How much power you need also depends on your weight, kite size and board.
Common waterstart mistakes and how to fix them
| Mistake | What happens | Fix |
|---|---|---|
| Straightening your whole body or both legs straight away | The kite drags you but doesn't lift you, or pulls you over | Keep your knees bent until you are out of the water |
| Gripping the bar and pulling with your arms | You can't steer or depower, and a hard crash is likely | Hold the bar with your fingertips and let the harness take the pull |
| Straightening the front leg too early, still in the water | The nose catches and spins you round | Kick the board off, let go of the bar, start over |
| Too much weight on the front foot | The nose dives under | Shift weight to the back foot |
| Board stays perpendicular to the kite's pull | You're up, but the board drags | Point the nose downwind towards the kite |
| Letting the kite keep falling | The kite crashes into the water | Steer it back up at about 45° |
The harness is the belt around your waist or hips that the kite is hooked into. It is meant to take the kite's pull while your hands only steer. Instinct says the exact opposite: grab the bar hard and pull it in. So on each attempt, focus on keeping your hands relaxed.
Waterstarting after your course, without an instructor next to you
On a course the instructor hands you the board and tells you what went wrong. In your first solo sessions you are on your own, so pick days with steady, not too strong wind and a spot with shallow, flat water. How to plan those first sessions is in after your kite course: your first 10 solo sessions.
A good course should teach you safety and what to do when things go wrong, not just how to get going. If you are not yet confident controlling the kite, using its safety system, doing a self rescue or stopping under control, keep working with an instructor before practising independently. That applies even on an empty spot. What to ask a school is covered in how to choose a kite school.
Once you can ride a few dozen metres, the next thing shows up right away: the wind slowly pushes you downwind and you have to work your way back. That's what how to ride upwind is about.
A shallow lagoon as a place to learn
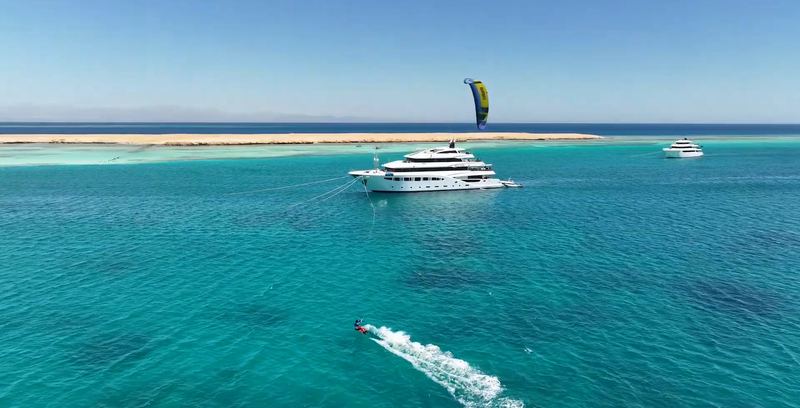
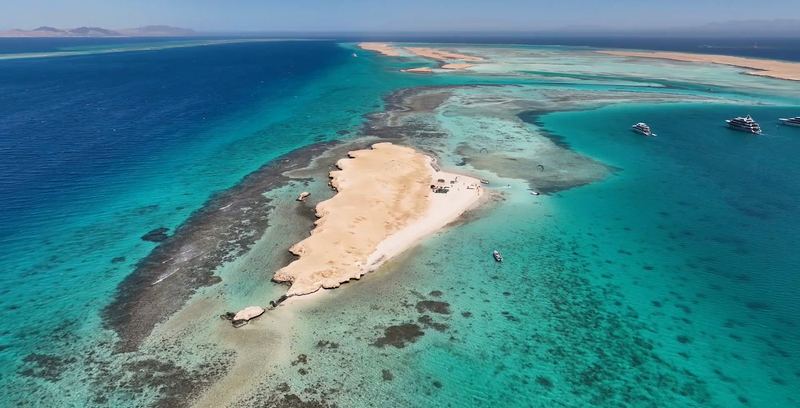
Shallow flat water without waves is exactly what the waterstart needs, and there are lagoons like that at the islands visited by the kite safari in Egypt I have been on several times. Abu Mungar island has shallow calm water and a sandy bottom. Beach boys help with launching and landing the kite, and there is a rescue boat on the water.
On the safari you can book a 6-day beginner course for €600, gear included. If you have done a course and got stuck on the waterstart, there is a 3-hour refresh for €180. Whether you're riding by the end of the week depends on the wind, on the instructor and on how much you have done before.
Questions
What should I be able to do before I try a waterstart?
Control the kite in the water and use its safety system, relaunch it from the surface, body drag in both directions and upwind, and get back to your board using the kite. In the IKO syllabus, waterstarts and controlled stops belong to stage 2I. The introduction to self rescue comes earlier, in stage 2H.
Why do I get pulled over the front of the board?
Usually there is too much power at once, or you straighten your whole body and both legs as the kite pulls. Steer the kite more slowly, start with less power and keep your knees bent until you are out of the water.
Why can't the kite pull me out of the water?
Most often you are not steering enough or fast enough, so the kite stays at the edge of the wind window where it has less pull, which may not be enough to get you going. Start with the kite at 11 or 1, on the opposite side to where you want to go, and dive it through the middle of the window.
What water is best for learning to waterstart?
Flat water without waves, roughly waist to chest deep, so you can stand up after a fall. There should be nobody and nothing downwind of you.
Sources
- IKO syllabus, level 2 (Intermediate): 2F enter and exit the water with kite control, water relaunch; 2G body drag; 2H upwind body drag and board recovery, body drag with the board, self-rescue introduction; 2I right of way, waterstart and controlled stop d8.ikointl.com (checked 17 October 2026)
- Waterstart: kite around 12, dive it in the direction of travel, move forward over the board, steer the kite back up, straighten the front leg and put more weight on the back foot; slower steering sends the kite less deeply into the power zone, faster steering can send it deeper; gripping the bar with both hands stops you steering and depowering and causes injuries and kite damage in beginners www.youtube.com (checked 17 October 2026)
- Prerequisites and drills: confident upwind body drag, flat waist to chest deep water that is not dangerously shallow, nobody downwind; 3 board drills (hold the board and fly with 1 hand, put the board on with the kite at 10 or 2, steer the board with your legs); mistakes: both legs straight, front leg straightened too early, pulling with the arms instead of the harness, steering the kite too slowly; next progression starting with the kite at 11 or 1; the waterstart is one of the hardest parts of learning to kitesurf www.youtube.com (checked 17 October 2026)
- Paradise Kitesurf kite safari, 2026 prices: beginner course €600 (6-day intensive course including gear), refresh course 3 h €180; beach boys help with launching and landing, rescue boat; Abu Mungar island: shallow calm water, sandy bottom paradisekitesurf.cz (checked 17 October 2026)
- IKO, Wind orientation: side-onshore blows diagonally from the water towards the shore and is the safest direction for teaching; sideshore runs parallel to the beach; offshore carries riders away from shore (verified in the indexed manual excerpt) d8.ikointl.com (checked 17 October 2026)
- Duotone, safety instructions sections 2 and 2.6: inexperienced or unsure riders should take lessons, know the safety system and avoid offshore wind a.storyblok.com (checked 17 October 2026)
- IKO, Wind Window Presentation and Terminology: the kite has the least power at the edge of the window, not automatically zero power; 12 is overhead, 9 is left and 3 is right d8.ikointl.com (checked 17 October 2026)
- IKO, Wind Effects, pages 157-158: obstacles including buildings and trees cause turbulence and changes in airflow that can lift and drop the kite and rider; avoid these areas d8.ikointl.com (checked 17 October 2026)